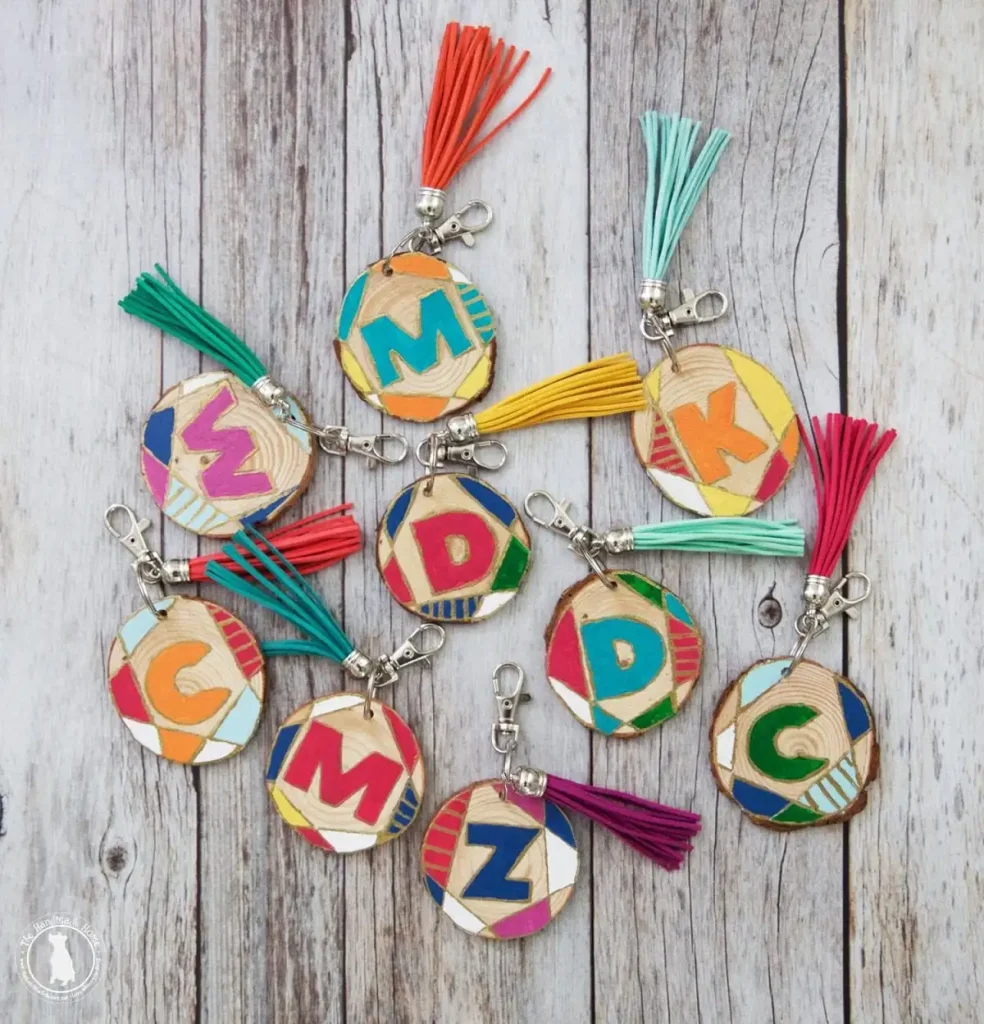
Say goodbye to losing keys. Take a piece of wood, a bit of rope, that’s it… because we have the solution! Learn how to make custom wood keychains with wood and rope to always carry your keys with you. See the step by step!
What do you need?
Tools:
- Dremel 4000
- Dremel flex shaft
- Pencil
Materials:
- String
- Wood
- Paint
STEP BY STEP
1. Cut the wood
To make your custom wood keychains, you will have to start by cutting a piece of wood to the size you want it to be. To do this, we have used a multi-tool – the Dremel 4000-, since the piece of wood is small and this type of tool allows us to work in detail. In addition, as it has different accessories, it can be used for other parts of the process such as sanding or engraving wood.
Make the cut by attaching a saw accessory to the tool, securing the piece of wood with a clamp to prevent movement and make working easier.
2. Create a slit
To create the hole for the rope to go through, create a slit in the piece of wood in the shape you want. In our case, the hole is rectangular and is 1 cm from the sides and 0.5 cm from the top edge.
To make it, since the hole is tiny, we connected a complement to the multitool that would give us more mobility and precision, a flexible shaft for Dremel rotary tools.
3. Sand the edges
Once you’re done, sand the entire surface of the piece of wood, taking special care with the edges and the groove. For this, you can use the multi-tool again, changing the drill bit for a sanding accessory.
4. Paint the keychain
To paint! Isn’t it bland without a touch of color? We have chosen a spray paint in a blue tone, but you can choose the one you like the most. Help yourself by inserting a stick into the crack so you don’t have to take the piece with your fingers, and so it is easier to apply the paint in a smooth way.
5. Decorate with an engraving
It won’t stay like this! The last touch is yet to come. If you feel like it, you can make a simple engraving. It’s as easy as changing the accessory back to a wood engraving tip and you’re good to go. We recommend that you first mark the design you want to make with a pencil, and then go over the silhouette.
6. Attach the rope
It’s almost there! All you have to do is cut a piece of string, which will help you place that key you don’t want to lose. Insert the string through the slit, then place the key in question and tie a knot so it doesn’t slip out.
What do you think of this idea to create custom wood keychains? Would you do it? If you still lack ideas for where to put your keys, you can read more super cool DIY articles on our website. Give us your opinion in the comments!

