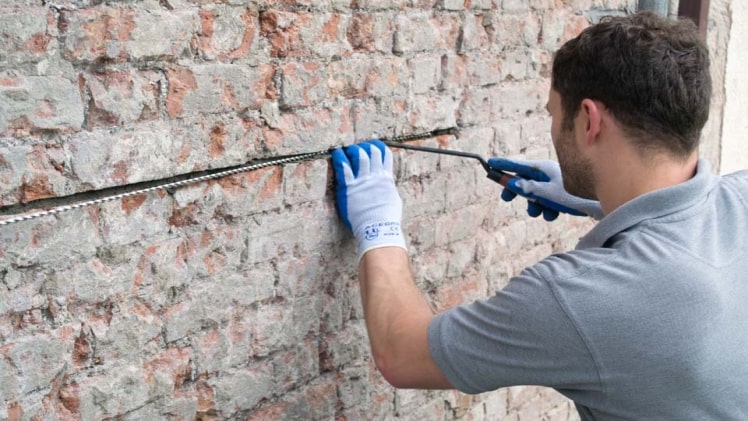
Walls are an important structure that holds buildings in place. When compromised, walls pose a safety threat to lives and properties within and outside its perimeter. Property owners who come across cracks in their walls need to act fast to prevent the associated dangers. When wall cracks are left unattended, the chances are high that they may expand over time and not only pose an aesthetic problem but also a structural one. To prevent the safety issues associated with cracked walls, this article goes over some cracked wall repairs that offer permanent protection to building owners and inhabitants.
Residential plastering involves the installation, repair, or restoration of plaster in homes, ensuring smooth and aesthetically pleasing finishes for walls and ceilings.
Repairing Drywalls
Drywalls are also known as gypsum panels, wallboards, buster boards, sheet-rock, gypsum boards, custard boards, etc. They are made from Calcium Sulphate Dihydrate (Gypsum) and consist of two paper boards. Drywalls are common construction material and are often used for interior walls and ceilings. One of the advantages of using this construction material is its fast and rapid installation process when compared to other materials.
Many building contractors also prefer this material because of its low energy cost, durability, and resistance to fire. However, one of the major disadvantages of this construction material is its susceptibility to water and water damage. Drywalls are also prone to surface damage, especially when they aren’t plastered.
Experiencing cracks in your drywall, whether due to impact or other factors is common. Addressing this problem is easier when compared to fixing a crack on other types of walls. To get the best result, assemble important tools like a utility knife, joint compound, paper tape, etc. Cut a V-notch no more than 1/4 or 1/8-inch around the crack. Clean the debris and dust created during the cutting process and cover the cracked area with paper tape and joint compound or a mesh joint tape. Spread the joint compound thinly on the covered section extending at least 2-inches away on the sides. Wait for the joint compound to dry, re-apply the joint compound and spread it out to about 6-7-inches on the sides. Leave the area to dry for about 12 hours, lightly sand the area until it’s smooth and proceed to paint over it or add wallpaper to cover it up.
Repairing Plaster Walls
Plaster walls are common to many homeowners. They are great for indoor use and contain three layers of plasters that offer energy-efficient advantages. However, they may also be prone to cracks which may result from a force of impact, high humidity over prolonged time, etc.
Addressing plaster wall cracks can be approached in the same manner as with drywalls. To repair cracks in your plaster wall, you need a joint compound. You may need to prepare the wall in a two-step process if the plaster is disengaging from the lath. To do this, you need a conditioner spray and an adhesive. Begin by making a hole in the plaster wall at three-inch intervals along the crack using a 3/16-inch masonry bit. Clean up the mess created by the drilling process and spritz the adhesive conditioner into every hole. Allow the application to dry as stated on the adhesive conditioner’s label and clean up any excesses using a damp washcloth.
Use the drill to attach the plaster rings, draw the plaster taut against the wall, and leave to cure according to the manufacturer’s direction. Remove the plaster rings when dry and layer a coat of joint compound on the area to hide the holes. Sand the surface after it has dried up, and repeat the process with the joint compound. Allow the surface some time to dry and sand smooth the surface.
Repairing Concrete Walls
Concrete walls are strong and may crack under pressure. The cracks may start small but can expand over time. An epoxy repair kit is needed to address this problem. Adding epoxy to the cracked area makes it watertight and prevents it from further expansion. The repair process starts by tapping three-inch finish nails through the crack at approximately twelve inches apart. Mix your epoxy in two parts and apply a small portion to the injection port tab created by the nails using a putty knife. Ensure that the epoxy covers each finish nail and spread the epoxy over the length of the crack and at least 1-inch to the sides.
The flange of the injection opening should be covered with epoxy and the edges feathered using mineral spirits and a paintbrush. Allow it to dry for about 12 hours and introduce liquid concrete repair into the wall openings using a caulk gun. Plug each of the ports after filling until they are all done. Leave to dry for at least 5 days and then cut the flush opening using a hacksaw.

